

Flat Pack Cabinets: Tools, Time, and Skills You’ll Need to DIY
2 February, 2026
How House of Millwork Designs Your Kitchen: From Concept to Install
22 February, 2026
Working with a Kitchen Cabinet Installer: What to Expect Step by Step
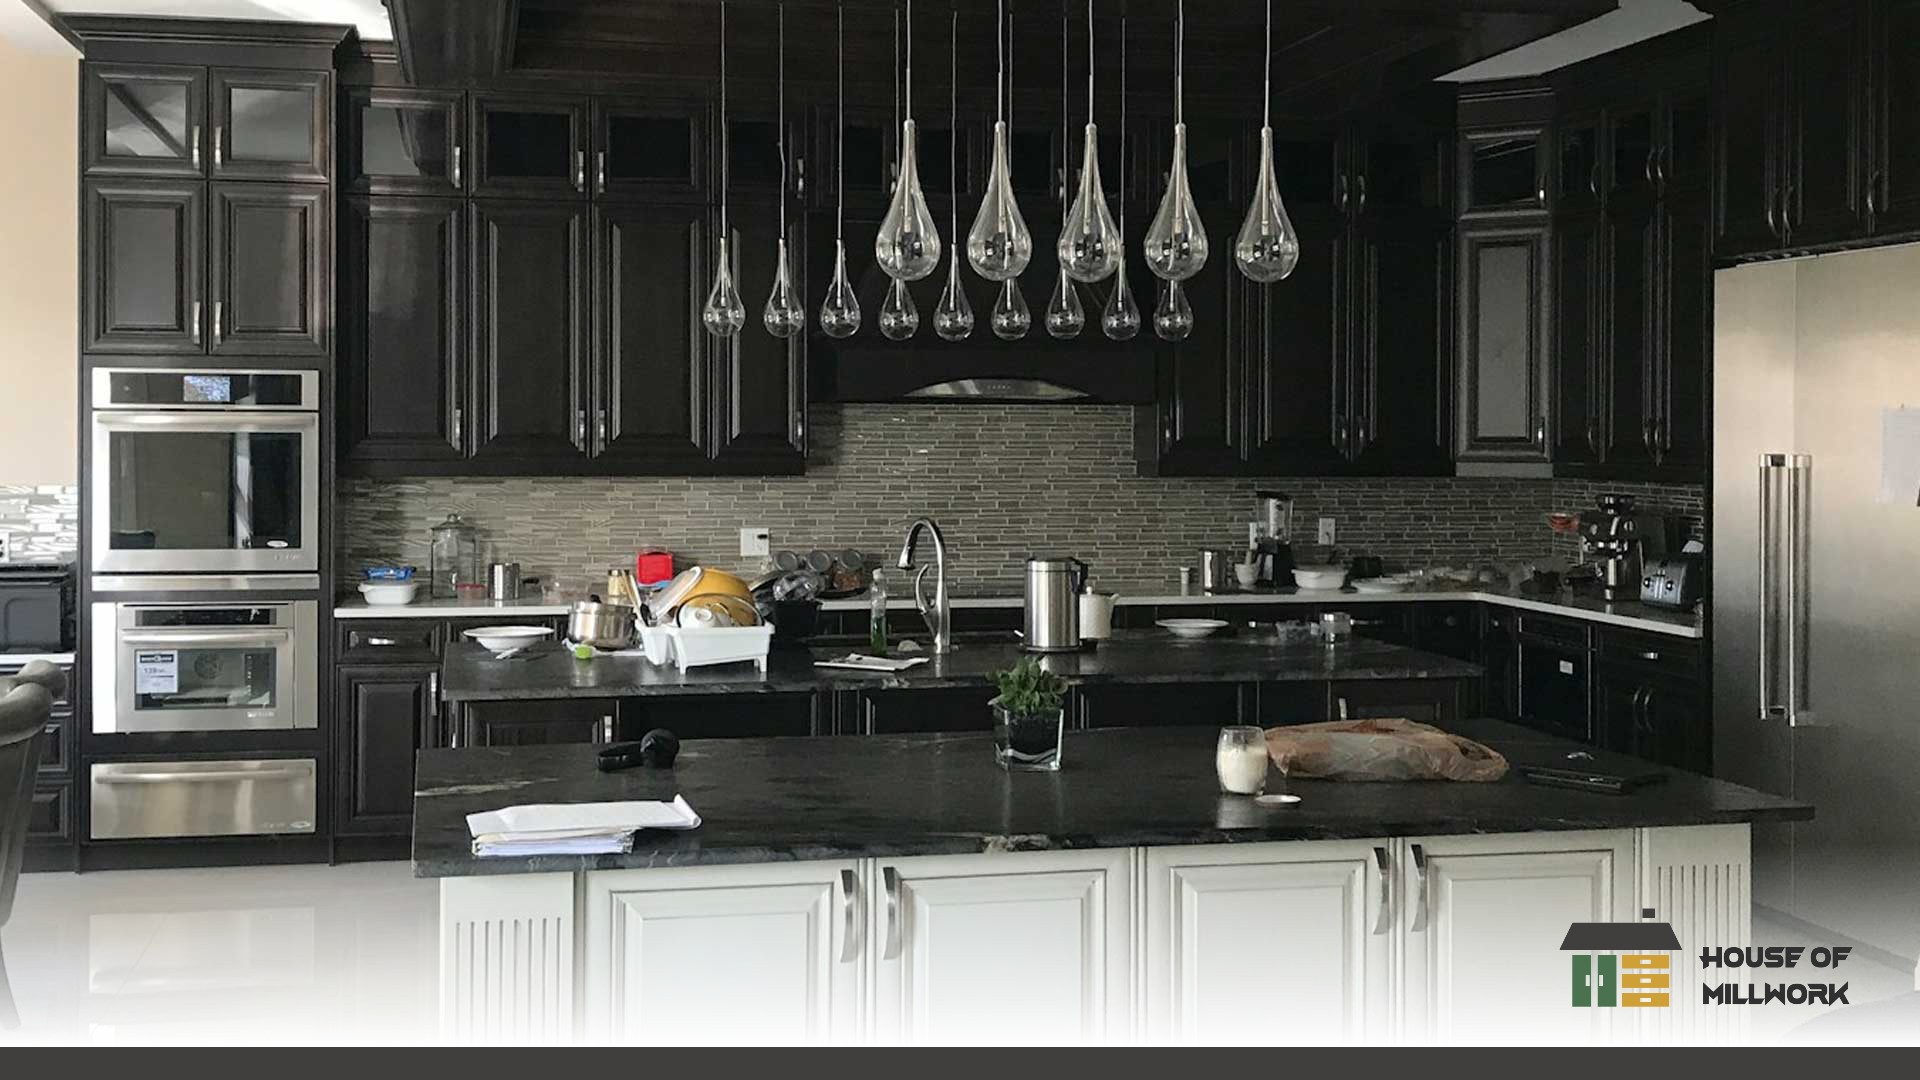
Introduction to Kitchen Cabinet Installation
Working with a kitchen cabinet installer is one of the most important steps in creating a functional, beautiful, and long‑lasting kitchen. Homeowners across Nanaimo and Vancouver Island often wonder what the full process looks like—from the first consultation to the final adjustments. Understanding each phase can help you plan ahead, set realistic expectations, and ensure that your custom cabinets, shaker doors, plywood cabinet boxes, and soft‑close hardware are installed correctly and efficiently.
Why Professional Installation Matters
A professional kitchen cabinet installer brings experience, precision, and industry knowledge to your project. Custom cabinetry, especially high‑quality builds involving dovetail drawers, full‑extension slides, or panel‑ready appliances, requires detailed alignment and extremely accurate measurements. A small error can affect door swing, countertop fit, or appliance clearance. Skilled installers use professional tools—such as laser levels and cabinet jacks—to ensure everything sits perfectly plumb and level.
Choosing the Right Installer in Nanaimo and Vancouver Island
Selecting a qualified installer is essential. When evaluating professionals in the Nanaimo area:
- Look for experience with custom cabinet systems, including plywood boxes and solid‑wood fronts.
- Ask about 3D design capabilities to preview your layout.
- Review past projects, especially kitchens and vanities similar to yours.
- Confirm that installation includes adjustments, hardware alignment, and clean‑up.
- Make sure they understand local homes and construction styles across Vancouver Island.

Step 1: Initial Consultation and Measurements
The first step in working with a kitchen cabinet installer is a thorough consultation. This meeting allows you to share your goals, style preferences, and functional needs while the installer assesses your space.
Preparing Your Kitchen Space
Before measurements are taken, your kitchen should be as accessible as possible. This means clearing countertops, moving small appliances, and ensuring pathways are open. If you are renovating an older home in Nanaimo or Parksville, installers may also check for conditions that could affect installation, such as uneven flooring or out‑of‑square walls.
Accurate Measurements and Layout Planning
Precise measurements are essential for ensuring that custom cabinets, modern slab doors, and shaker fronts fit correctly. During this step, installers typically:
- Measure walls, window openings, and ceiling heights.
- Confirm appliance dimensions including panel‑ready fridges or integrated dishwashers.
- Check electrical and plumbing placements for sink bases and hood vents.
- Discuss workflow and storage needs for drawers, spice pullouts, or pantry units.
These measurements feed into 3D design software, giving you a clear visual of your future kitchen.
Step 2: Design and Material Selection
Once measurements are complete, you and your installer move into the design and material selection phase. This is where aesthetics and function merge.
Custom Cabinetry Options
Custom cabinets allow you to tailor your kitchen to your lifestyle. Options may include:
- Shaker, slab, or modern‑profile doors.
- Plywood cabinet boxes for strength and moisture resistance.
- Dovetail drawers with soft‑close glides.
- Pantry towers, blind‑corner solutions, and pull‑out organizers.
- Open shelving or glass‑front display cabinets.
Material Choices and Finishes for Your Cabinets
You can choose from a wide range of materials and finishes, such as:
- Painted MDF, ideal for shaker doors.
- Wood veneers for a warm, natural look.
- Thermofoil or laminate for budget‑conscious builds.
- Stain colours to match floors, beams, or existing millwork.
Countertop choices, including quartz, granite, and butcher block, may also be discussed at this stage since they influence cabinet design and installation requirements.
Step 3: Installation Scheduling and Preparation
Once designs are finalized and materials selected, your installer schedules the installation. Lead times vary depending on custom fabrication and availability of materials.
Coordinating with Installers and Other Trades
Your kitchen renovation may involve electricians, plumbers, or countertop fabricators. A skilled installer helps coordinate these trades to ensure smooth workflow. For example, quartz countertop templating typically happens after cabinets are secured in place, so scheduling must be precise.
Preparing Your Home for Installation Day
Before the installer arrives, homeowners are typically advised to:
- Clear the kitchen of personal items.
- Remove old cabinetry if not included in the installer’s scope.
- Ensure pets and children are kept away from the workspace.
- Provide clear access to the home for moving large cabinet sections.
Step 4: Installation Process
This is the stage where your new kitchen starts to take shape. Installation procedures may vary based on cabinet style, availability of space, and existing site conditions.
What Happens During Installation
The installer will typically:
- Set base cabinets first, ensuring everything is perfectly level.
- Secure upper cabinets using stud finders and laser levels.
- Adjust doors and drawers for smooth, aligned operation.
- Install mouldings, fillers, toe kicks, or trim pieces.
- Prepare for countertop templating if using quartz or solid surface materials.
The entire process usually takes a few days to a week for an average kitchen, depending on project complexity.
Common Challenges and How Professionals Handle Them
Homes in Nanaimo and Vancouver Island often have uneven floors or walls. Professional installers address these issues by:
- Scribing panels to fit irregular surfaces.
- Shimming base cabinets for perfect level.
- Modifying filler pieces for tight, seamless integration.
These adjustments ensure durable and visually clean installation results.

Step 5: Final Inspection and Adjustments
When installation is complete, your installer performs a thorough inspection to ensure everything functions as expected.
Ensuring Cabinet Quality and Fit
During final inspection, installers check:
- Door and drawer alignment.
- Soft‑close hinge tension.
- Secure anchoring of upper cabinets.
- Panel and trim alignment.
- Proper spacing for appliances.
Addressing Any Issues or Concerns
If something doesn’t look or feel right, this is the time to discuss it. Adjustments are common, especially for doors and drawers that may shift slightly during installation. Most concerns can be resolved quickly with minor tweaks.
Step 6: Aftercare and Maintenance Tips
Proper care extends the life of your cabinetry and keeps it looking fresh for years.
Maintaining Your Kitchen Cabinets for Longevity
To protect your investment:
- Wipe spills quickly to prevent moisture damage.
- Use mild soap and water for cleaning painted or wood surfaces.
- Avoid harsh chemicals that can dull finishes.
- Check hinges and slides periodically for loosening.
When to Contact Your Installer for Repairs
If you notice issues such as sticking drawers, misaligned doors, or hardware wear, contact your installer. Minor repairs or adjustments are often simple and help maintain long‑term performance.
FAQs
How long does kitchen cabinet installation typically take?
Installation timelines vary by project size but usually take a few days to a week for standard kitchens on Vancouver Island.
Can I stay in my home during installation?
Yes, but expect some noise and limited kitchen access; your installer can advise on minimizing disruption.
Do installers provide clean-up after the job?
Professional installers generally include clean-up as part of their service to keep your home tidy.
What if my cabinets don’t fit properly?
Installers perform careful measurements and adjustments; any fitting issues should be addressed promptly during the final inspection.
Frequently Asked Questions
What materials are best for long-lasting kitchen cabinets?
Plywood cabinet boxes and solid wood or high-quality MDF doors tend to offer the best durability. Plywood is resistant to warping and handles moisture better than particleboard, while solid wood and MDF both provide excellent finishing surfaces depending on your chosen style.
How do I choose between shaker and slab doors?
Shaker doors suit classic or transitional homes and offer a timeless look, while slab doors work well in modern or minimalist kitchens. Both provide durability, so the choice mostly depends on your preferred aesthetic.
When should countertops be templated during installation?
For quartz or solid surface countertops, templating happens after the base cabinets are fully installed and level. This ensures an accurate fit and avoids gaps or alignment issues.
Do custom cabinets take longer to install than RTA options?
Custom cabinets may take slightly longer to install because they often include more detailed components and require precise alignment. However, the installation timeframe still varies based on project size and site conditions.

