

Return on Investment: Do New Cabinets Increase Your Home Value?
1 February, 2026
Working with a Kitchen Cabinet Installer: What to Expect Step by Step
10 February, 2026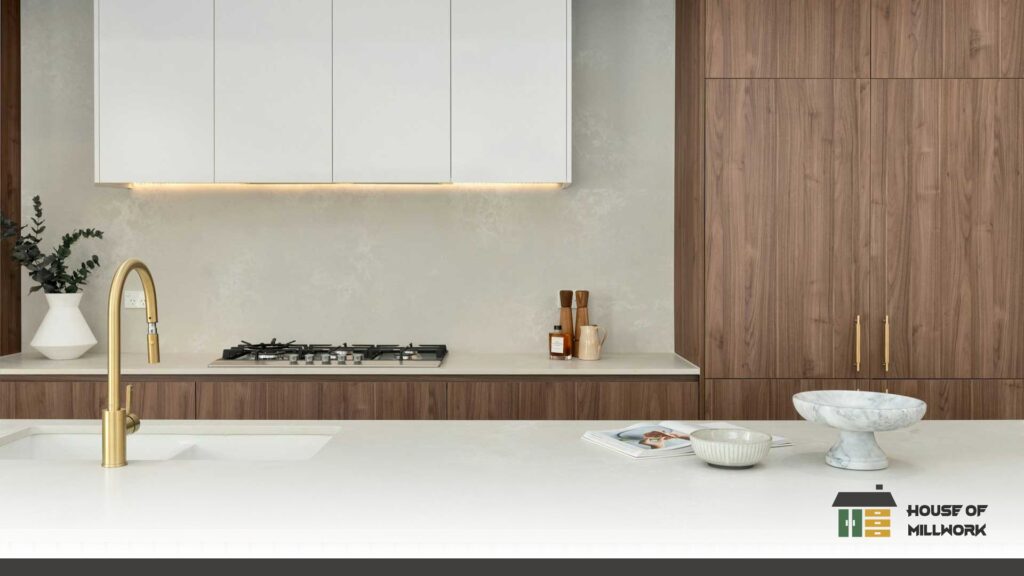
Flat Pack Cabinets: Tools, Time, and Skills You’ll Need to DIY
Introduction to Flat Pack Cabinets
What Are Flat Pack Cabinets?
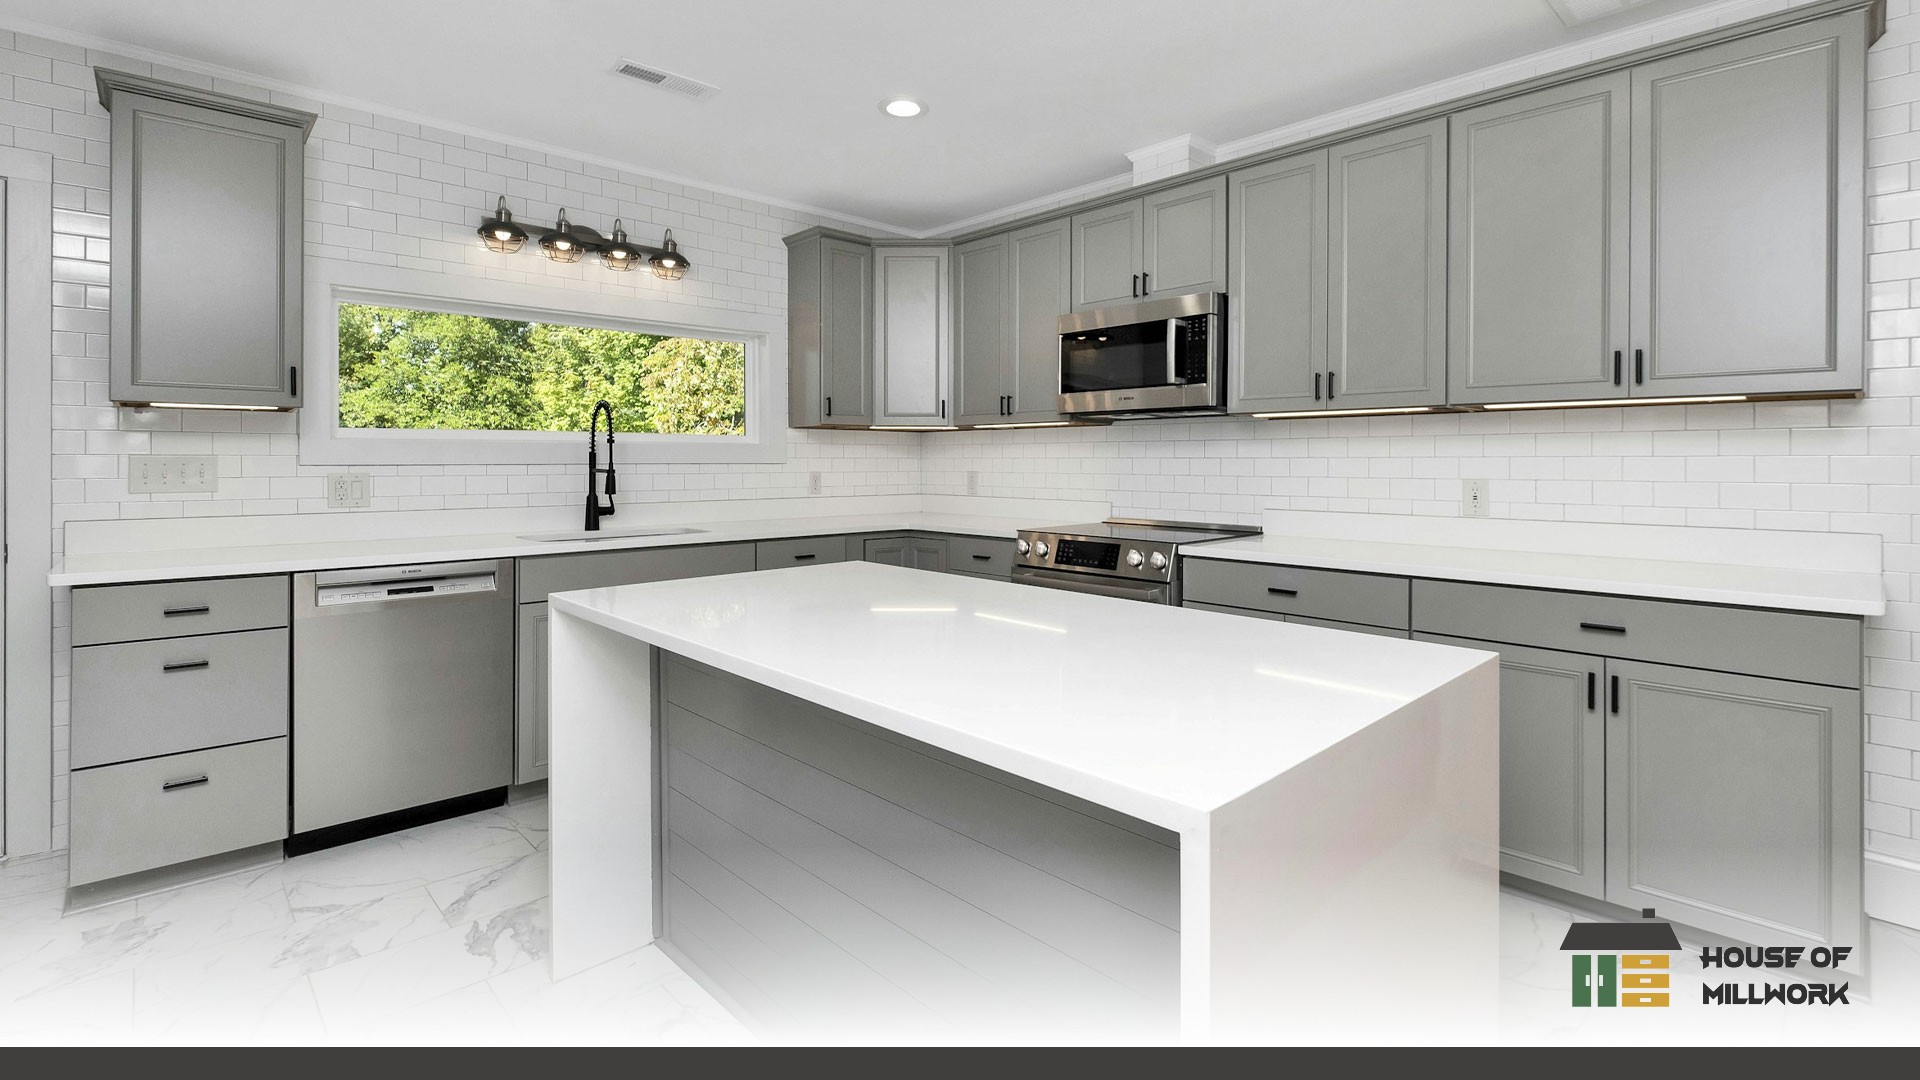
Flat pack cabinets, sometimes called RTA (ready-to-assemble) cabinets, arrive as boxed components that you assemble on-site. Homeowners across Nanaimo and Vancouver Island appreciate these systems because they balance affordability with flexibility. The panels are typically pre-cut, pre-drilled, and designed to be combined with familiar hardware such as cam locks, dowels, screws, and soft-close hinges. While they lack some of the custom detailing found in a fully built 5/8-inch plywood cabinet box from a professional shop, a good-quality flat pack system can still offer strong performance, especially when installed correctly.
For homeowners renovating kitchens, bathroom vanities, mudrooms, or laundry rooms, flat pack solutions can be a practical option. Many DIYers also use them as a starting point for more custom millwork, such as replacing slab doors with shaker doors or adding crown moulding and filler panels for a tailored look. When paired with quality hardware like soft-close drawer slides or dovetail drawer boxes, flat pack cabinets can support both functionality and longevity.
Benefits of DIY Flat Pack Cabinets
Choosing to install flat pack cabinets yourself offers several advantages:
- Lower overall project cost compared to factory-assembled or custom millwork.
- Flexible installation schedule that fits around your renovation timeline.
- Wide availability of modern and traditional door styles, including slab, shaker, and slim-shaker.
- Opportunities to customize interior components like pull-outs or organizers.
- Ability to pair with premium finishes such as quartz countertops after cabinet installation.
Essential Tools for Flat Pack Cabinet Installation
Basic Hand Tools
Flat pack cabinets are designed to be accessible, and many can be assembled with a core set of household tools. However, having the right equipment improves accuracy and reduces frustration. Essential hand tools include:
- Measuring tape for verifying room dimensions and cabinet fit.
- Carpenter’s square to confirm panels and corners are true.
- Good-quality screwdrivers (Phillips and Robertson).
- Rubber mallet for gentle tapping without damaging finishes.
- Clamps for holding panels together during fastening.
Power Tools Recommended
While hand tools can work, power tools make the process significantly faster and more precise. Most DIY installers find these tools indispensable:
- Cordless drill/driver with torque control for assembly hardware.
- Impact driver for mounting cabinets to studs.
- Jigsaw or circular saw for trimming filler panels or scribing edges.
- Laser level for upper-cabinet alignment—a professional standard used in Nanaimo installations.
If you plan to install dovetail drawers, soft-close undermount slides, or appliance panels, having power tools available becomes even more helpful.
Specialty Tools for Precision
For a professional-quality installation, a few specialty tools will greatly improve outcomes:
- Stud finder to locate secure mounting points.
- Scribing tool for tight wall-to-cabinet fits, especially in older Vancouver Island homes where walls may be uneven.
- Cabinet lift or temporary supports to assist with upper cabinets.
- Feeler gauges or shims for levelling cabinet boxes prior to securing.
Time Commitment for a Successful DIY Project
Planning and Preparation
Before assembling anything, allocate time for measurement, layout, and design. Planning plays a major role in how smoothly the project goes. Many homeowners spend several hours—or even a full day—checking dimensions, reviewing assembly instructions, and confirming the placement of appliances, sinks, and plumbing. When possible, use 3D design tools or consult preliminary drawings from a cabinet maker to avoid surprises.
Make sure the space is ready: remove old cabinetry, repair walls as needed, and confirm electrical or plumbing rough-ins match your layout. Flat pack cabinets rely on clean, level surfaces for a tight fit.
Step-by-Step Assembly Timeline
Timelines vary based on size and experience, but a typical structure looks like this:
- 1–3 hours per cabinet for assembly, depending on complexity and drawer count.
- Half a day to level and secure base cabinets on an average kitchen wall.
- Another half day for upper cabinets using laser levelling and shims.
- 1–3 additional days for finishing touches such as scribing, filler panels, crown moulding, and hardware installation.
Once cabinets are installed, countertop templating can take place. Quartz countertop fabrication often requires about 1–2 weeks depending on availability and scope.
Common Delays and How to Avoid Them
Several common issues can slow down DIYers:
- Missing components—check all packaging before starting.
- Irregular flooring or uneven walls—use shims and scribing tools early.
- Mounting to weak studs—reinforcement may be required in older homes.
- Not pre-planning appliance clearances—double-check every measurement.
A methodical approach and verifying each step before fastening prevent misalignment later.
Skills Needed to Install Flat Pack Cabinets
Basic Carpentry Skills
You don’t need to be a professional carpenter, but basic familiarity with tools and woodworking helps immensely. Comfort with drilling, fastening, and reading assembly diagrams is key. If you’ve previously installed shelves, assembled furniture, or built simple wooden projects, the learning curve will be manageable.
Measuring and Leveling Techniques
The most critical skill in cabinet installation is accurate measurement. Poor levelling can create visible misalignments, affect drawer performance, and compromise countertop installation. Best practices include:
- Using a laser level to establish reference lines for upper cabinets.
- Checking multiple points across walls to adjust for dips or bows.
- Ensuring all base cabinet tops align in a single plane for quartz countertop support.
Troubleshooting and Adjustments
Flat pack cabinets are designed to be adaptable, but adjustments are often required. Expect to fine-tune:
- Door alignment using the six-way adjustment built into most soft-close hinges.
- Drawer slide positioning to achieve smooth movement.
- Filler strips for tight wall-to-cabinet transitions.
- Scribe panels to match irregular wall surfaces.
Local Considerations for Nanaimo and Vancouver Island Homes
Material Choices Suitable for Coastal Climate
Humidity and seasonal moisture require thoughtful material selection. Opt for higher-quality flat pack kits that use moisture-resistant plywood or well-sealed MDF. In coastal environments, plywood cabinet boxes tend to outperform particleboard due to reduced swelling risk. Consider polyurethane or thermofoil finishes, which resist humidity well.
Hiring Local Experts vs DIY
While DIY is achievable, some homeowners in Nanaimo and surrounding areas prefer hiring a cabinet installer for complex layouts or high-end materials like integrated appliance panels or large-format vanities. Professional installers also have specialized tools like cabinet jacks and laser-guided scribing equipment.
However, combining DIY assembly with professional installation can also be cost-effective—assemble the cabinet boxes yourself, then bring in a local pro for final alignment and mounting.
FAQs
Can a beginner successfully install flat pack cabinets?
Yes, with the right tools, time, and careful attention to instructions, beginners can complete the project.
How long does it typically take to install flat pack cabinets?
Most homeowners spend 1 to 3 days depending on experience and project size.
What tools are absolutely necessary for flat pack cabinet assembly?
Basic hand tools like screwdrivers and drills, along with a level and measuring tape, are essential.
Are flat pack cabinets durable in coastal Vancouver Island environments?
When using quality materials and finishes suited for moisture, flat pack cabinets can be durable locally.
Frequently Asked Questions
Q1
A1
Q2
A2
Q3
A3
Q4
A4

